Learn DHT11 & DHT22 Interfacing with Arduino Nano – Step-by-Step Guide
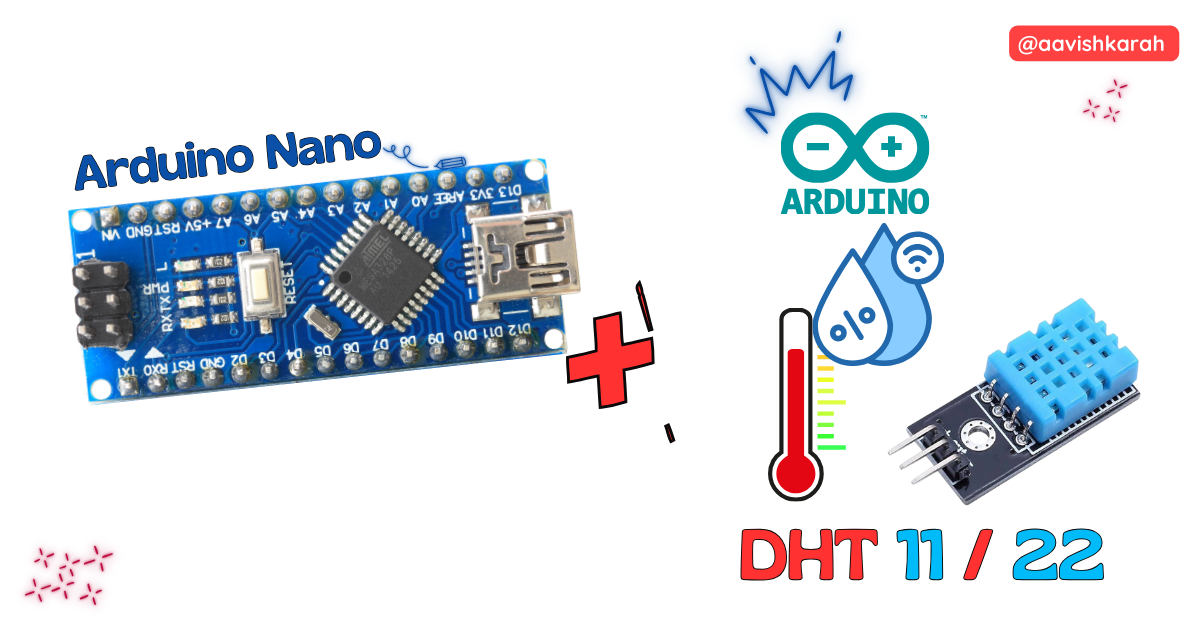
Table of Contents
Abstract
In this article, we will learn how to interface the DHT11 / DHT22 temperature and humidity sensor with the Arduino Nano. These sensors are widely used in IoT, weather monitoring, HVAC systems, and smart agriculture projects.
We will cover the hardware connections, understand how the sensor works, write the Arduino program, and test the setup using real hardware or Wokwi simulation.
 Pre-Request
- OS : Windows / Linux / Mac / Chrome
- Arduino IDE
Hardware Required
Arduino boards, sensors, and maker essential Kits—perfectly matched for your learning.
- Arduino Nano.
- DHT11 or DHT22 sensor
- BreadBoard.
- Mini USB Cable.
- Connecting wires.
- 5V DC power supply (Optional)
| Components | Purchase Link |
|---|---|
| Arduino Nano | link |
| DHT 11 | link |
| DHT 22 | link |
| Mini USB Cable | link |
| BreadBoard | large : small |
| Connecting Wires | link |
| 5V DC Adaptor | link |
Don't own a hardware 
No worries,
💡Still you can learn using simulation. check out simulation part  .
.
💡Power your mission with reliable Arduino Kits. Explore Hardware →


Understanding the DHT11 / DHT22 Sensor
The DHT sensors measure:
- Temperature
- Relative Humidity
They use a single-wire digital communication protocol, making them very easy to interface with Arduino.
Differences
| Feature | DHT11 | DHT22 |
|---|---|---|
| Temperature Range | 0–50 °C | −40 to 80 °C |
| Humidity Range | 20–80 % | 0–100 % |
| Accuracy | Moderate | High |
| Cost | Low | Slightly higher |
Sensor Pinout
Most DHT modules have 3 pins:
| Pin | Function |
|---|---|
| VCC | Power (3.3 V / 5 V) |
| DATA | Data Output |
| GND | Ground |
Connection Table
DHT Sensor → Arduino Nano
| DHT Pin | Arduino Nano |
|---|---|
| VCC | 5V |
| DATA | D2 |
| GND | GND |
Note
💡 If using a bare DHT sensor, connect a 10 kΩ pull-up resistor between VCC and DATA.

fig-Connection Diagram
 Code
Code
Info
Install the DHT Sensor Library from Arduino Library Manager.
Code Explanation
Let’s break down the Arduino sketch line by line to clearly understand how the DHT22 works with the Arduino Nano.
 Imports
DHT.hThis library provides all the functions needed to communicate with DHT sensors, such as reading temperature and humidity values.- 💡 These libraries hide the low-level DHT22 complexity and make sensor interface simple.
Define Sensor details
- Sensor type connected is
DHT22 D2→ connected to DHT22 Signal pin- Create a DHT sensor object named
dht, using the defined pin and sensor type. All sensor readings will be taken using this object.
dht.begin()starts sensor communication.readHumidity()andreadTemperature()get real-time data.- Data is displayed on the Serial Monitor every 2 seconds.
Common Issues & Troubleshooting
| Issue | Solution |
|---|---|
| No readings | Check DATA pin number |
| NaN values | Check sensor type |
| Sensor not detected | Ensure pull-up resistor |
| Wrong values | Use correct DHT type |
Simulation
Not able to view the simulation
- Desktop or Laptop : Reload this page ( Ctrl+R )
- Mobile : Use Landscape Mode and reload the page
Arduino boards, sensors, and maker essential Kits—perfectly matched for your learning.
Extras
Components details
- Arduino Nano Data Sheet
- DHT 11 Sensor Data Sheet
Modules / Libraries Used
- DHT.h
- Arduino library for DHT11, DHT22, etc Temp & Humidity Sensors.
- More info
- Github Source Code
Conclusion
Interfacing a DHT11 or DHT22 sensor with Arduino Nano is one of the easiest ways to build a temperature and humidity monitoring system. With only one data wire, the sensor provides reliable environmental data that can be used in IoT dashboards, weather stations, greenhouses, and smart homes.
Using Wokwi simulation, you can test and debug your project even without physical hardware, making this setup perfect for learning, teaching, and prototyping.