Potentiometer with Arduino Nano – Analog Input Control (Hardware & Wokwi Simulation)
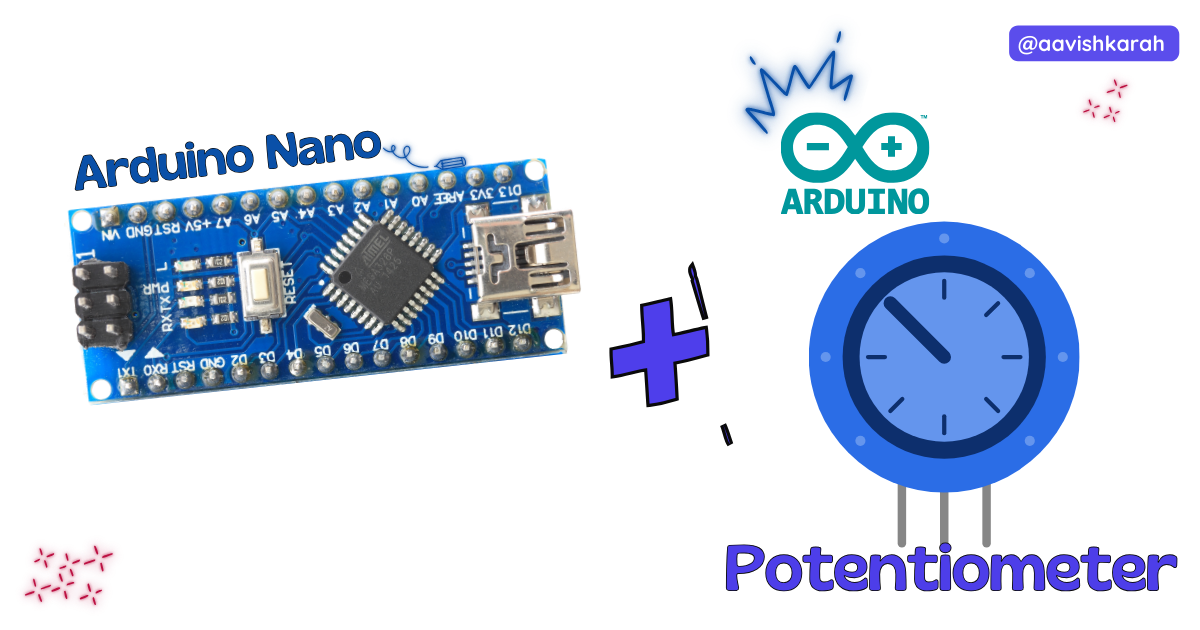
Table of Contents
Abstract
In this article, we will learn how to interface a potentiometer with the Arduino Nano to read analog values. A potentiometer is a variable resistor that allows us to manually change voltage levels, making it ideal for controlling brightness, motor speed, volume, and sensor calibration.
We will cover the hardware connections, understand how analog input works, write the Arduino code, and test the setup using real hardware or Wokwi simulation.
 Pre-Request
- OS : Windows / Linux / Mac / Chrome
- Arduino IDE
Hardware Required
Arduino boards, sensors, and maker essential Kits—perfectly matched for your learning.
- Arduino Nano.
- Potentiometer (10kΩ)
- BreadBoard.
- Mini USB Cable.
- Connecting wires.
- 5V DC power supply (Optional)
| Components | Purchase Link |
|---|---|
| Arduino Nano | link |
| Potentiometer (10kΩ) | link |
| Mini USB Cable | link |
| BreadBoard | large : small |
| Connecting Wires | link |
| 5V DC Adaptor | link |
Don't own a hardware 
No worries,
💡Still you can learn using simulation. check out simulation part  .
.
💡Power your mission with reliable Arduino Kits. Explore Hardware →


Understanding the Potentiometer
A potentiometer is a three-terminal variable resistor. It works as a voltage divider, producing a variable output voltage depending on the position of its knob.
Pin Description
| Pin | Function |
|---|---|
| Left Pin | GND |
| Middle Pin | Output (Variable voltage) |
| Right Pin | VCC (5V) |
As you rotate the knob, the middle pin outputs a voltage between 0V and 5V.
Connection Table
Potentiometer → Arduino Nano
| Potentiometer Pin | Arduino Nano |
|---|---|
| Left Pin | 5V |
| Middle Pin | A0 |
| Right Pin | GND |
Note
Arduino Nano has a built-in 10-bit Analog-to-Digital Converter (ADC). This converts voltage (0–5V) into digital values from 0 to 1023.
| Voltage | ADC Value |
|---|---|
| 0 V | 0 |
| 2.5 V | ~512 |
| 5 V | 1023 |

fig-Connection Diagram
 Code
Code
Code Explanation
analogRead(A0)reads voltage from the potentiometer.- The value ranges from 0 to 1023.
- The value is displayed on the Serial Monitor.
delay(500)updates the reading every 0.5 seconds.
Simulation
Not able to view the simulation
- Desktop or Laptop : Reload this page ( Ctrl+R )
- Mobile : Use Landscape Mode and reload the page
Arduino boards, sensors, and maker essential Kits—perfectly matched for your learning.
Extras
Components details
- Arduino Nano Data Sheet
Modules / Libraries Used
NIL
Common Applications
- LED brightness control
- Volume control
- Motor speed control
- Menu navigation
- Sensor calibration
Conclusion
Interfacing a potentiometer with Arduino Nano is one of the best ways to understand analog input. It allows real-time control of voltage, making it ideal for interactive electronics and IoT projects. Using Wokwi simulation, you can test and learn even without physical components.