Blink an LED on Arduino Uno Using C/Cpp (Hardware & Simulation) : Step-by-Step Guide
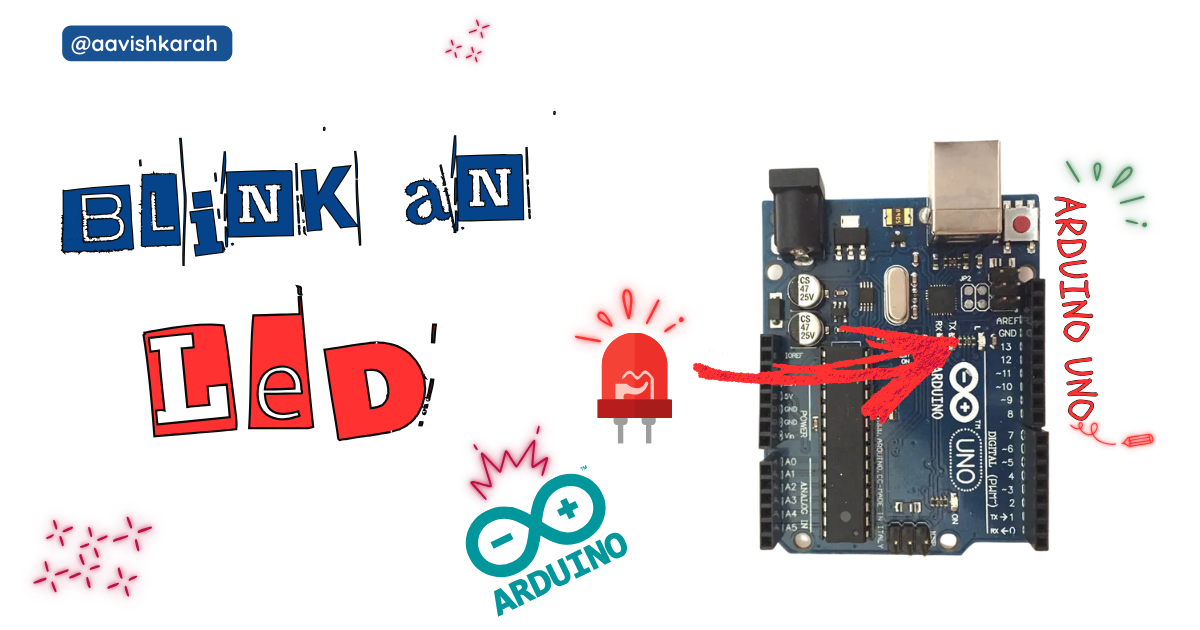
Table of Contents
Abstract
Arduino UNO Development board is equipped with ATmega328p chip, which has 32K bytes of Flash program memory, 2k bytes of SRAM and 1K bytes of EEPROM. UNO board supports Embedded System C, Cpp and arduino code.
In this article we go through.
- Accessing the built-in led (13) of the Arduino UNO board.
- Turning
onandoffbuilt-in led using arduino code. - Simulation using wokwi.
- Hardware demo.
 Pre-Request
- OS : Windows / Linux / Mac / Chrome
- Arduino IDE.
Hardware Required
🛠️
Get the right hardware kit
Arduino boards, sensors, and maker essential Kits—perfectly matched for your learning.
Explore Hardware →
Arduino boards, sensors, and maker essential Kits—perfectly matched for your learning.
- Arduino UNO
- Micro USB Cable.
| Components | Purchase Link |
|---|---|
| Arduino UNO | Purchase Link |
| Mini B USB Cable | Purchase Link |
Don't own a hardware 
No worries,
💡Still you can learn using simulation. check out simulation part  .
.
💡Power your mission with reliable Arduino Kits. Explore Hardware →


Connection Table
Built-in led of Arduino UNO is internally connected to GPIO 13.
| Particular | GPIO | Remarks |
|---|---|---|
| Built-in LED | 13 | Internally Connected |

 Code
Code
Code Explanation
 Accessing built-in led of Arduino UNO board.
- LED_BUILTIN (GPIO pin 13) is configured as
OUTPUTpin (Line number 3) - You can alternatively use GPIO 13 in place of LED_BUILTIN.
Blinking LED
- Continuous loop is achieved using
loopmethod. digitalWriteis used to change the state of GPIO pin.digitalWrite(LED_BUILTIN, HIGH);sets the value of GPIO 13 toHIGHor1, which in turn turns ON the LED. (line number 11)- Delay of
1second is achieved throughdelay(1000);method. (line number 12 & 16) digitalWrite(LED_BUILTIN, LOW);sets the value of GPIO 13 toLOWor0, which in turn turns OFF the LED. (line number 15)
Try It
- Change the value in the sleep method and observe the change in the on and off time.
delay(2000),delay(4000), etc
- the values in terms of milli seconds.
delay(1000): 1000 ms or 1 sdelay(500): 500 ms or 0.5 s
Simulation
Not able to view the simulation
- Desktop or Laptop : Reload this page ( Ctrl+R )
- Mobile : Use Landscape Mode and reload the page
🛠️
Get the right hardware kit
Arduino boards, sensors, and maker essential Kits—perfectly matched for your learning.
Explore Hardware →
Arduino boards, sensors, and maker essential Kits—perfectly matched for your learning.
Result
Above code turns ON LED for 1 second and OFF for 1 second. Similar to a square wave of 0.5 Hz output connected to an LED.
Extras
Components details
- Arduino UNO Data Sheet
Modules / Libraries Used
-Nil-