Interfacing 16x2 I2C LCD display with Arduino Uno
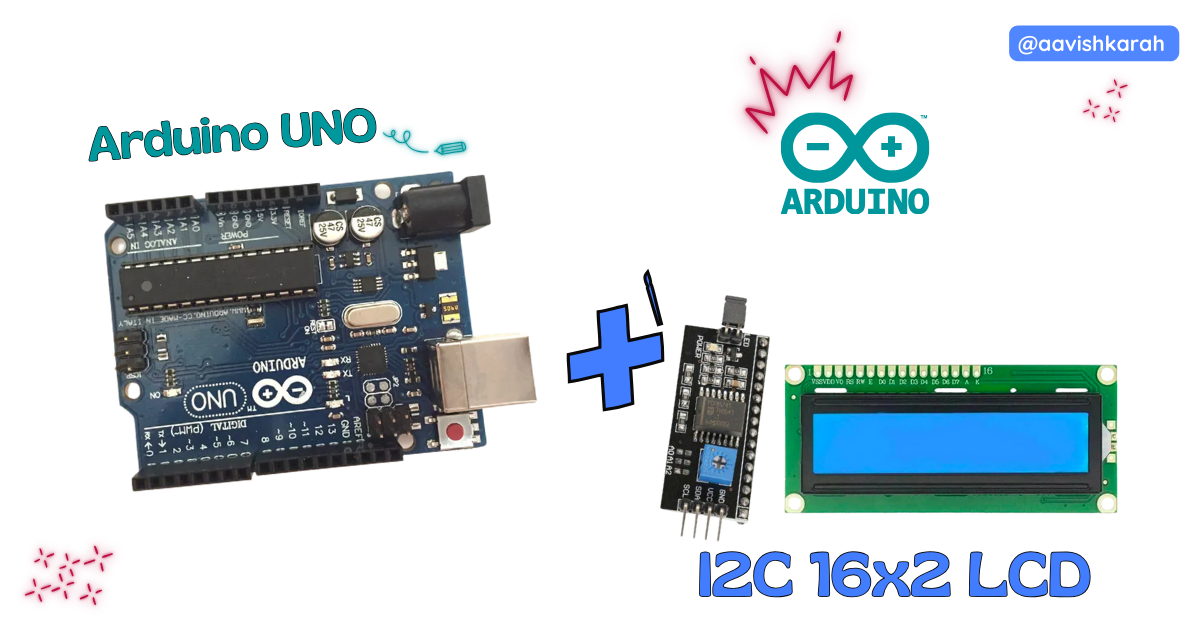
Table of Contents
Abstract
In this article, we will learn how to interface a 16×2 I2C LCD display with an Arduino Uno. Unlike the traditional parallel LCD interface, the I2C LCD uses only two communication wires, making the wiring simple, clean, and ideal for compact projects.
By the end of this tutorial, you will be able to display text on a 16×2 LCD using the Arduino Uno, understand the hardware connections, write the Arduino program, and verify the output using hardware or simulation.
 Pre-Request
- OS : Windows / Linux / Mac / Chrome
- Arduino IDE
Hardware Required
Arduino boards, sensors, and maker essential Kits—perfectly matched for your learning.
- Arduino Uno.
- 16x2 I2C LCD display.
- Resistors.
- BreadBoard.
- Mini USB Cable.
- Connecting wires.
- 5V DC power supply (Optional)
| Components | Purchase Link |
|---|---|
| Arduino Uno | link |
| 16x2 I2C LCD | link |
| Mini USB Cable | link |
| BreadBoard | large : small |
| Connecting Wires | link |
| 5V DC Adaptor | link |
Don't own a hardware 
No worries,
💡Still you can learn using simulation. check out simulation part  .
.
💡Power your mission with reliable Arduino Kits. Explore Hardware →
Understanding I2C LCD Display
An I2C LCD uses an onboard PCF8574 I/O expander, which converts I2C signals into parallel data for the LCD controller. This drastically reduces the number of pins required.
Advantages of I2C LCD
- Uses only 2 data lines (SDA & SCL)
- Saves GPIO pins on Arduino
- Clean wiring
- Ideal for scalable projects
Connection Table
| I2C LCD Pin | Arduino Uno Pin |
|---|---|
| VCC | 5V |
| GND | GND |
| SDA | A4 |
| SCL | A5 |
Note
💡 Most I2C LCD modules have a contrast adjustment potentiometer on the back.

fig-Connection Diagram
 Code
Code
Info
Before writing the main program, it is important to know the I2C address of your LCD module (commonly 0x27 or 0x3F).
Code Explanation
Let’s break down the Arduino sketch line by line to clearly understand how the 16×2 I2C LCD works with the Arduino Uno.
 Imports
Wire.hEnables I2C communication between the microcontroller and external devices.LiquidCrystal_I2C.hProvides easy-to-use functions to control a 16×2 LCD via I2C, such as printing text, clearing the screen, and moving the cursor.
💡 These libraries hide the low-level I2C complexity and make LCD control simple.
Define LCD Pin Connections
0x27→ I2C address of the LCD module (Common addresses are0x27or0x3F)16→ Number of columns2→ Number of rows
This line creates an LCD object named lcd, which will be used to control the display throughout the program.
Initialize the LCD
- Initializes the LCD and internally:
- Starts I2C communication
- Configures the LCD controller
- This step is mandatory before using any LCD functions.
- Enables the LCD backlight so text becomes visible.
!!! Note:
The I2C pins (SDA & SCL) are automatically handled by the Wire library.
Display Content
lcd.setCursor(0,0)Positions the cursor at:- Column
0 - Row
0(first row)
- Column
- LCD row numbering starts from 0, not 1.
lcd.printDisplays the text “Welcome to” starting from the first column of the first row.lcd.setCursor(0,1)Moves the cursor to:- Column
0 - Row
1(second row)
- Column
lcd.printDisplays “Aavishkarah” on the second line of the LCD.delay(3000)Pauses execution for 3000 milliseconds (3 seconds).- Keeps the welcome message visible before entering the loop.
Display 0-9 continuously
forloop- Initializes a variable
i - Counts from 0 to 9
- Initializes a variable
lcd.clear()- Clears the entire LCD screen.
- Prevents overlapping of previous characters.
lcd.print(i)- Prints the current value of
ion the LCD. - Numbers appear one by one (0 → 9).
- Prints the current value of
delay(1500)- Holds each number on the display for 1.5 seconds.
- After displaying
9, the loop restarts from0. - Creates an infinite counting display on the LCD.
Try It
- Alter the output content on the display by passing your data argument to the
lcd.print()method.
Simulation
Not able to view the simulation
- Desktop or Laptop : Reload this page ( Ctrl+R )
- Mobile : Use Landscape Mode and reload the page
Arduino boards, sensors, and maker essential Kits—perfectly matched for your learning.
Extras
Components details
- Arduino Uno Data Sheet
- 16x2 LCD Display Data Sheet
Modules / Libraries Used
- LiquidCrystal_I2C.h
- It provides ready-to-use functions to control 16×2 I2C LCD displays such as
print(),clear(),setCursor()etc., - More info
- Github Source Code
- It provides ready-to-use functions to control 16×2 I2C LCD displays such as