The Ultimate Guide to Deploying Scalable Node-RED in the Cloud
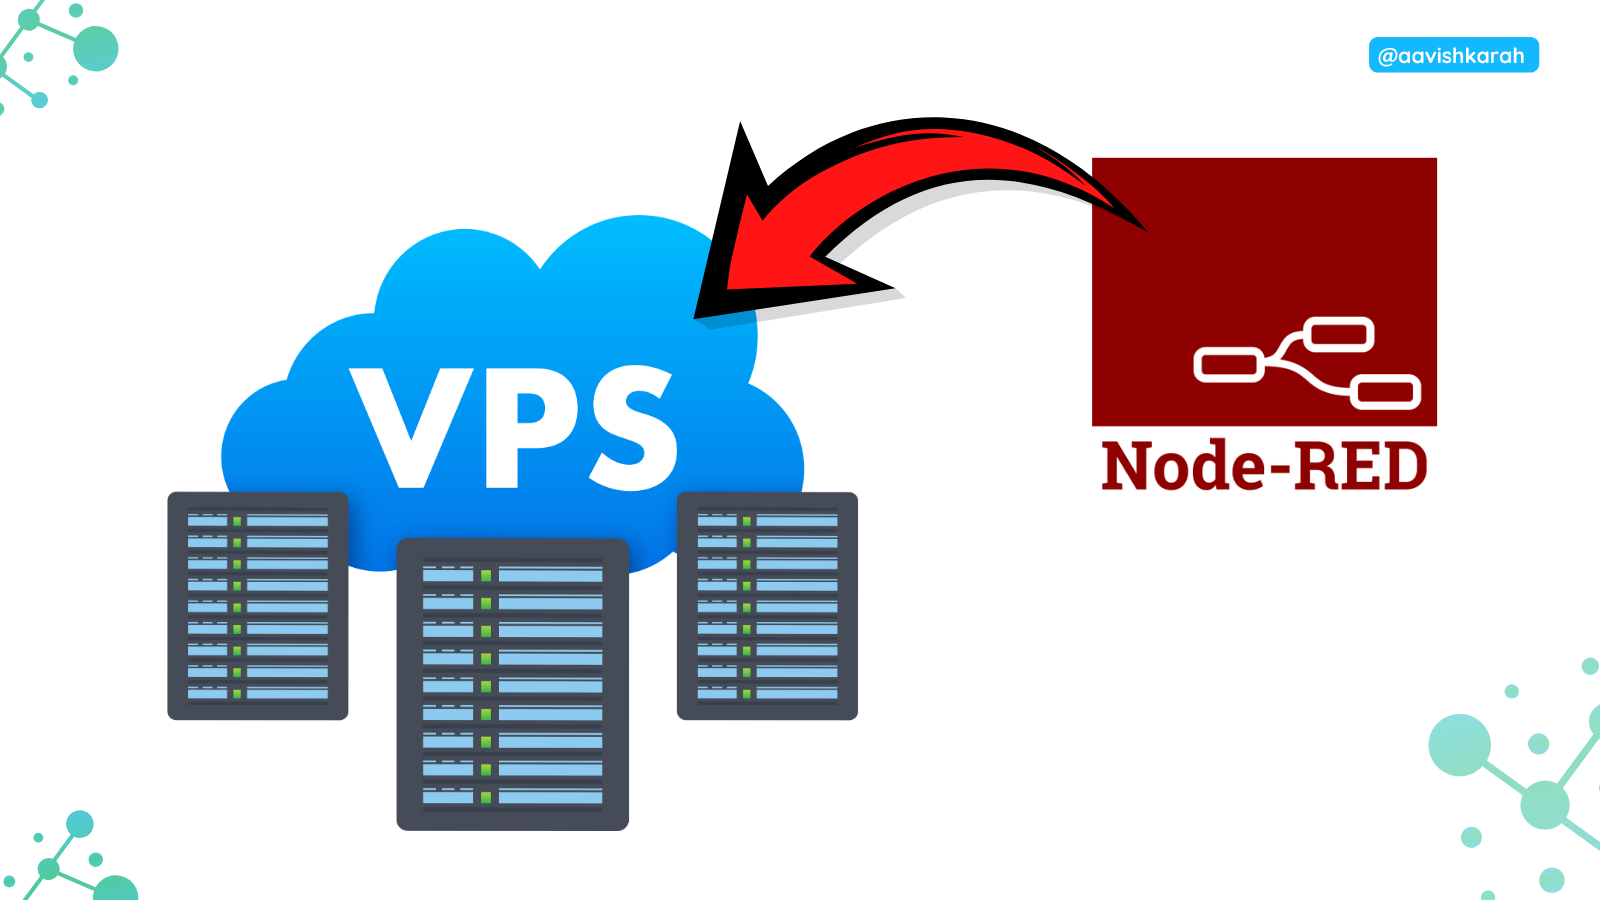
Table of Contents
🧾 Abstract
Node-RED is a powerful tool for wiring together hardware devices, APIs, and online services. While running it locally on a Raspberry Pi is great for prototyping, deploying it to the cloud ensures 24/7 availability and scalability. In this guide, you will learn how to deploy a production-ready Node-RED instance on a DigitalOcean Droplet, secured with Nginx as a reverse proxy, managed by PM2, and mapped to your custom domain nodered.arunkumarn.in using Cloudflare.
📚 Prerequisites
Before starting, you should have:
- Basic knowledge of the Linux Command Line.
- SSH access to a remote server.
✅ Supported OS
| Platform | Supported |
|---|---|
| Ubuntu 22.04 / 24.04 LTS | ✅ Yes (Recommended) |
| Debian 11/12 | ✅ Yes |
| CentOS/RHEL | ✅ Yes |
💰 Exclusive Offer: Get $200 Free Credit
Ready to deploy? Use the link below to create your DigitalOcean account and receive $200 in free credit to experiment with Node-RED and other cloud services.
Enrol using the link to get $200 DigitalOcean credit
🏗️ Architecture Overview
For a scalable and secure deployment, we use the following stack:
- DigitalOcean Droplet: The virtual private server (VPS) hosting our environment.
- Node-RED: The core low-code engine.
- PM2: A process manager to ensure Node-RED restarts automatically if it crashes or the server reboots.
- Nginx: Acts as a reverse proxy to handle SSL and forward traffic to Node-RED.
- Cloudflare: Manages DNS records and provides an extra layer of security.
🛠️ Step-by-Step Setup Instructions
✅ Step 1: Create a DigitalOcean Droplet
- Sign in to your DigitalOcean account.
- Click Create (top right) and select Droplets.

- Choose Region: Select the data center closest to you (e.g., Bangalore, NYC, or London).

- Choose Image: Select Ubuntu 24.04 LTS.
- Choose Size: Select the Basic plan. For Node-RED, the $4/month or $6/month (Regular SSD) is more than enough.

- Authentication: Choose SSH Keys (Recommended for security) or Password.
- Finalize and click Create Droplet.

Once created, copy the IP Address of your new Droplet.

✅ Step 2: Login to the Droplet
- SSH into your server:
- Update the system:
✅ Step 3: Install Node.js and Node-RED
- Node-RED requires Node.js. Install the LTS version:
# Download and install nvm:
curl -o- https://raw.githubusercontent.com/nvm-sh/nvm/v0.40.4/install.sh | bash

# restarting the shell
\. "$HOME/.nvm/nvm.sh"

# Download and install Node.js:
nvm install 24

# Verify the Node.js version:
node -v # Should print "v24.14.0".

# Verify npm version:
npm -v # Should print "11.9.0".
- Now, install Node-RED globally:
✅ Step 4: Setup PM2 Process Manager
To keep Node-RED running in the background:
✅ Step 5: Configure Nginx Reverse Proxy
- Install Nginx:
- Create a configuration file for your domain:
- Paste the following configuration:
server {
    listen 80;
    server_name nodered.arunkumarn.in;

    location / {
        proxy_pass http://localhost:1880;
        proxy_http_version 1.1;
        proxy_set_header Upgrade $http_upgrade;
        proxy_set_header Connection "upgrade";
        proxy_set_header Host $host;
        proxy_set_header X-Real-IP $remote_addr;
    }
}
- Enable the site and restart Nginx:
sudo ln -s /etc/nginx/sites-available/nodered.arunkumarn.in /etc/nginx/sites-enabled/
sudo nginx -t
sudo systemctl restart nginx
Note
replace the domain name nodered.arunkumarn.in with your custom domain name.
🌐 DNS Configuration
- Login to your DNS server
- Here Cloudflare is used.
- Select your domain
arunkumarn.in. - Go to DNS Settings > Add Record.
- Type:
A, Name:nodered, Content:Your_Droplet_IP. - Ensure the Proxy Status is set to "Proxied" (Orange cloud) for automatic SSL handling.

🔒 Install SSL Certificate
We will use Certbot to get a free SSL certificate from Let's Encrypt.
-
Install Certbot:
-
Run Certbot:
Follow the prompts: Enter your email and agree to the terms. Certbot will automatically update your Nginx file to use SSL.
-
Verify Auto-Renewal:
🛑 Security Hardening
By default, Node-RED is open. You must enable authentication:
- Generate a password hash:
- Edit the settings file:
- Find the
adminAuthsection, uncomment it, and replace the password hash with yours. - Restart Node-RED:
pm2 restart node-red.
🚀 Advanced Tips
- Continuous Backups: Use GitHub to version control your
flows.json. - Environment Variables: Store sensitive API keys in a
.envfile instead of hardcoding them in nodes. - Monitoring: Use the
pm2 monitcommand to watch CPU and memory usage in real-time.
📌 References
🏁 Conclusion
You now have a production-grade Node-RED instance running at your custom domain🎉. With PM2 managing the process and Nginx handling the traffic, your IoT automation flows are ready to scale with high availability. Happy wiring!